Easy Aioli Recipe at Home
Highlighted under: Sugar-Kissed Bakes
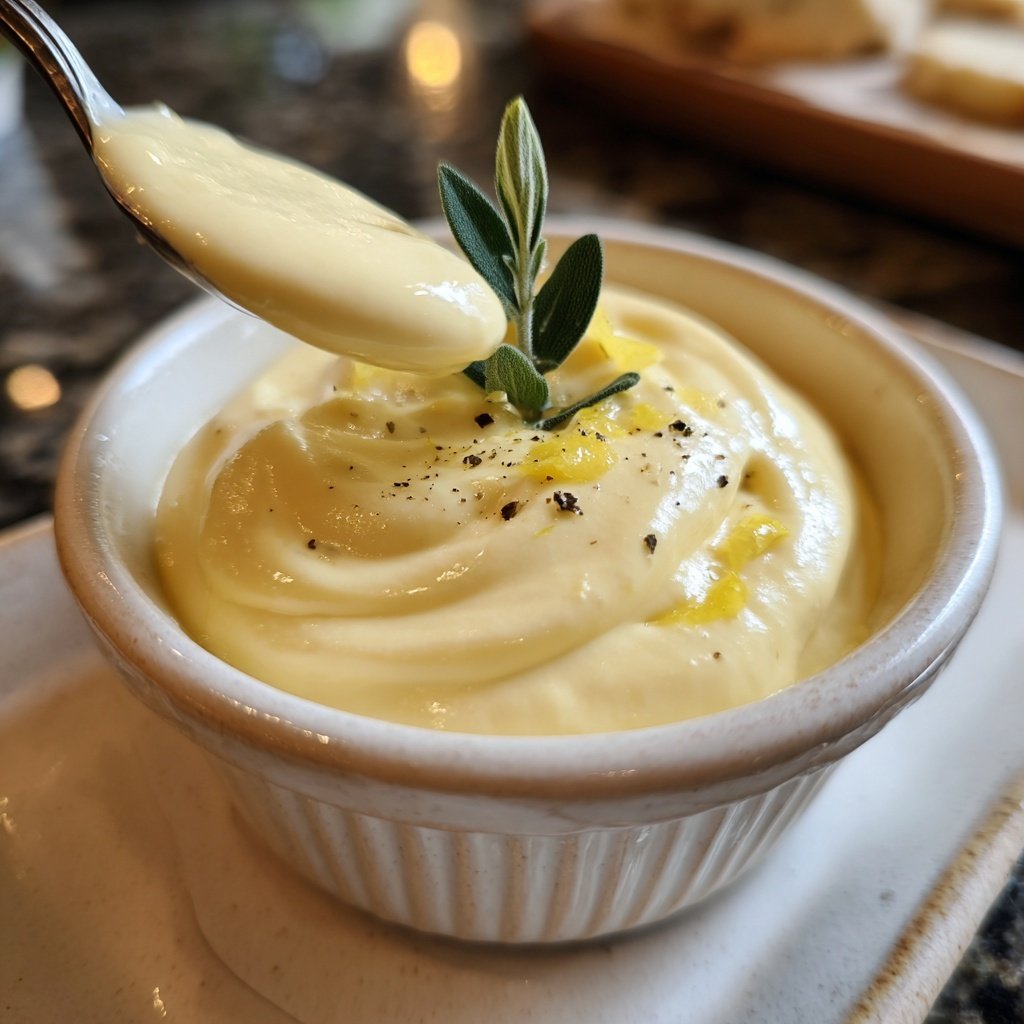
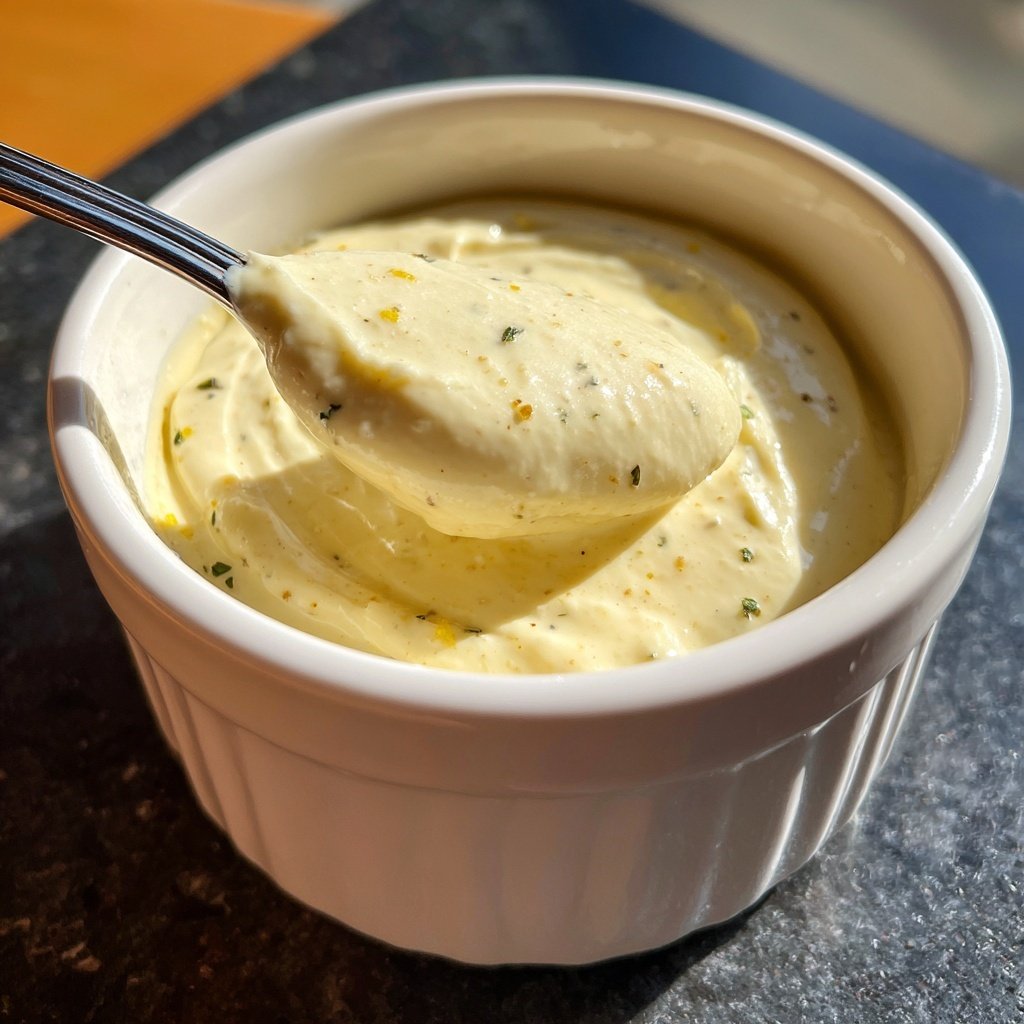
I love making aioli at home because it's simple, delicious, and elevates any dish. The beauty of this recipe lies in its straightforwardness; with just a few ingredients, I can whip up a creamy, garlicky dip that enhances flavors in everything from vegetables to sandwiches. Plus, adjusting the garlic to my taste offers a personal touch that store-bought versions can't match. Whether it's for an appetizer or a culinary experiment, this aioli is my go-to.
When I first attempted making aioli, I was surprised by how quickly it came together. By using a food processor, I could emulsify the ingredients seamlessly, which made the process less daunting than I thought. It's fascinating to see how the olive oil transforms the egg yolk into a luscious sauce.
One of my favorite tips is to make sure all your ingredients are at room temperature. Doing so not only helps with emulsification but also enhances the overall flavor. Trust me, this small detail makes a noticeable difference!
Why You'll Love This Aioli
- Robust garlic flavor that packs a punch
- Creamy texture that complements various dishes
- Quick and easy to prepare at home
The Importance of Garlic
Garlic is the star ingredient in aioli, providing not just flavor but also complexity. The depth of garlic can be adjusted based on your preference; using roasted garlic instead of raw will yield a sweeter and more mellow flavor. If you’re wary of raw garlic's intensity, start with just one clove and build up from there, tasting along the way. This allows you to create an aioli that perfectly suits your palate while still packing that essential garlicky punch.
The method of mincing plays a significant role in the flavor transfer of garlic. A fine mince releases more oils and juices, resulting in a stronger taste. Using a microplane can achieve this fine consistency quickly. Just be cautious not to over-process it into a paste, as this can lead to bitterness. If you prefer a uniform texture, you can also use a garlic press, ensuring a smoother incorporation into the aioli.
Achieving the Perfect Emulsion
Emulsifying the oil into the egg yolk is where the magic happens. A steady, slow drizzle of olive oil while the processor is running is crucial; too much oil at once can break the emulsion, causing the mixture to separate. Aim for a thin stream and be patient; this can take about 1-2 minutes of blending. If you notice the aioli starting to separate, immediately stop adding oil and blend it for a bit longer until it re-combines. This technique ensures a creamy and stable consistency.
To achieve a fluffy texture, consider the temperature of your ingredients. Room temperature egg yolk will emulsify more effectively than cold. If you're in a cooler climate, you might want to place your egg yolk in a warm bowl for a few minutes before starting to help with the emulsion process. Lastly, if your aioli turns out too thick, gradually incorporate a teaspoon of water or more lemon juice while blending to bring it back to the desired consistency.
Ingredients
Gather the following ingredients to make your aioli:
Aioli Ingredients
- 1 egg yolk
- 1 cup olive oil
- 2-3 cloves garlic, minced
- 1 tablespoon lemon juice
- Salt, to taste
These ingredients will come together to create a delectable homemade aioli.
Instructions
Follow these simple steps to whip up your aioli:
Combine Ingredients
In a food processor, combine the egg yolk, minced garlic, and lemon juice. Pulse until combined.
Emulsify
With the processor running, slowly drizzle in the olive oil. Continue to blend until the mixture thickens and is fully emulsified.
Season
Add salt to taste, blending until well mixed. If the aioli is too thick, you can thin it out with a little water or lemon juice.
Your homemade aioli is ready to serve!
Pro Tips
- For an extra kick, try adding herbs like basil or parsley, or replace some olive oil with flavored oils for a unique twist.
Storage Tips
Homemade aioli can be stored in the refrigerator for up to five days, making it a perfect make-ahead option for meals or parties. To keep it fresh, always store in an airtight container, which helps prevent oxidation that can lead to spoilage. If you notice color changes or an off smell, it's best to discard it to ensure food safety.
When storing aioli, avoid adding ingredients like herbs or spices until you are ready to use it. This prevents the aioli from becoming watery or losing its texture. If you want to make a flavored version, I recommend adding these elements just before serving for the best freshness and flavor.
Serving Ideas
Aioli is incredibly versatile and can be served with a variety of dishes. It's not just a dip for veggies; consider pairing it with grilled meats, seafood, or even drizzled over roasted potatoes for an extra flavor boost. It makes an excellent spread for sandwiches or burgers, taking them from ordinary to gourmet with just a small amount.
For a delightful appetizer, serve aioli alongside a platter of crudités or as a sauce for shrimp cocktails. It’s also fantastic when mixed with fresh herbs like dill or basil, which can add a new dimension to your favorite recipes. If you're feeling adventurous, try adding a hint of smoked paprika or sriracha for a spicy kick.
Questions About Recipes
→ Can I make aioli without raw egg?
Yes! You can use pasteurized eggs or a vegan substitute like aquafaba if you're concerned about raw egg.
→ How long can I store aioli in the fridge?
Homemade aioli can be stored for up to one week in the refrigerator in an airtight container.
→ What can I use aioli for?
Aioli is fantastic as a dip, spread in sandwiches, or drizzled over roasted vegetables.
→ Can I customize the flavor of my aioli?
Absolutely! Try adding different herbs, spices, or even avocado for a unique twist.
Easy Aioli Recipe at Home
Created by: Anya Coleman
Recipe Type: Sugar-Kissed Bakes
Skill Level: Beginner
Final Quantity: 1 cup
What You'll Need
Aioli Ingredients
- 1 egg yolk
- 1 cup olive oil
- 2-3 cloves garlic, minced
- 1 tablespoon lemon juice
- Salt, to taste
How-To Steps
In a food processor, combine the egg yolk, minced garlic, and lemon juice. Pulse until combined.
With the processor running, slowly drizzle in the olive oil. Continue to blend until the mixture thickens and is fully emulsified.
Add salt to taste, blending until well mixed. If the aioli is too thick, you can thin it out with a little water or lemon juice.
Extra Tips
- For an extra kick, try adding herbs like basil or parsley, or replace some olive oil with flavored oils for a unique twist.
Nutritional Breakdown (Per Serving)
- Calories: 120 kcal
- Total Fat: 14g
- Saturated Fat: 2g
- Cholesterol: 37mg
- Sodium: 5mg
- Total Carbohydrates: 1g
- Dietary Fiber: 0g
- Sugars: 0g
- Protein: 1g